
A low-fat diet emphasizes reducing fat intake, particularly saturated and trans fats, to promote weight management and heart health. It focuses on whole, nutrient-dense foods like fruits, vegetables, lean proteins, and whole grains, while limiting processed and fried foods. This dietary approach is often recommended for improving overall health and reducing chronic disease risks.
1.1 Definition and Purpose of Low-Fat Diets
A low-fat diet is a dietary approach that focuses on reducing the intake of fats, particularly saturated and trans fats, while emphasizing whole, nutrient-dense foods. Its primary purpose is to promote weight management, improve heart health, and reduce the risk of chronic diseases like diabetes and certain cancers. By limiting fats and prioritizing lean proteins, fruits, vegetables, and whole grains, this diet aims to create a balanced and sustainable eating pattern. It is often recommended for individuals seeking to improve their overall health and wellbeing through mindful food choices.
1.2 Benefits of Reducing Fat Intake
Reducing fat intake, especially saturated and trans fats, offers numerous health benefits. It can lead to weight loss, improved heart health by lowering cholesterol levels, and a reduced risk of chronic diseases like diabetes and certain cancers. A lower fat diet often results in better blood sugar control and improved insulin sensitivity. Additionally, it can enhance overall metabolism and energy levels. By focusing on lean proteins, fruits, vegetables, and whole grains, individuals can achieve a more balanced and nutritious eating pattern, promoting long-term health and wellbeing.
Foods to Include in a Low-Fat Diet
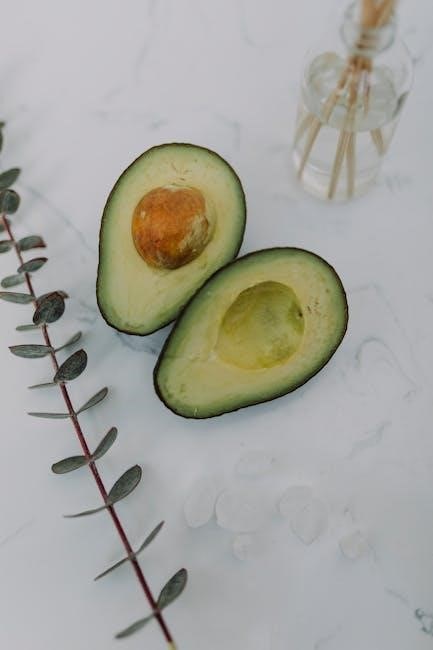
Incorporate lean proteins, low-fat dairy, plenty of fruits, vegetables, and whole grains. Include healthy fats like avocados, nuts, and olive oil for balanced nutrition.
2.1 Lean Proteins
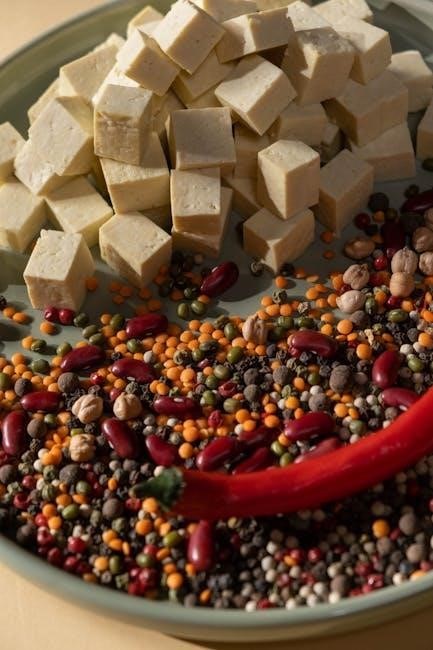
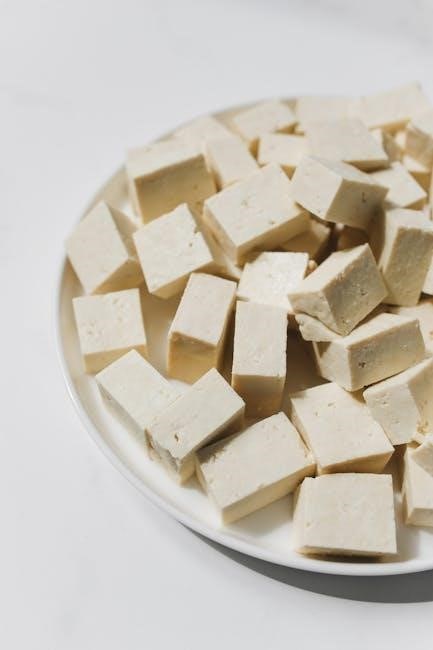
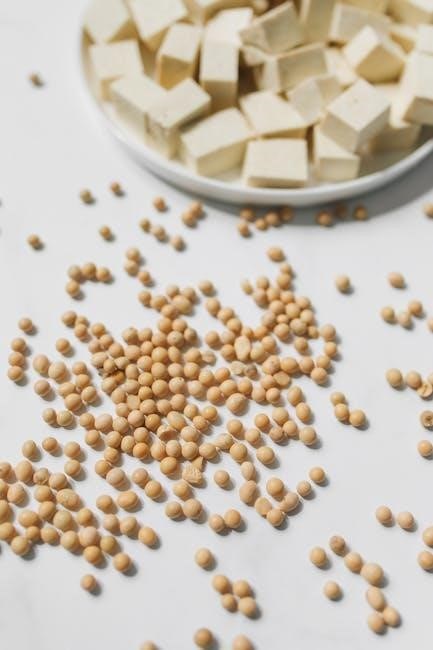
Lean proteins are essential for muscle repair and growth without adding excess fat. Include options like chicken breast, turkey, fish (especially fatty fish like salmon for omega-3 benefits), tofu, and legumes. Eggs and low-fat dairy products, such as Greek yogurt, are also excellent sources. These proteins are low in saturated fats and rich in nutrients, making them ideal for a low-fat diet. Incorporating a variety ensures you meet your protein needs while maintaining overall health and supporting weight management goals. Always opt for cooking methods like grilling, baking, or steaming to keep them lean and flavorful.
2.2 Low-Fat Dairy Products
Low-fat dairy products are a great source of essential nutrients like calcium, protein, and vitamins. Choose options such as skim milk, low-fat yogurt, and reduced-fat cheeses. These products have less saturated fat compared to their full-fat counterparts while retaining their nutritional value. Opt for unsweetened varieties to avoid added sugars. Incorporating low-fat dairy supports bone health and muscle function without contributing excessive calories or fat. They are versatile and can be used in meals, snacks, or as part of a balanced diet, making them a healthy addition to a low-fat dietary plan.
2.3 Fruits and Vegetables
Fruits and vegetables are foundational in a low-fat diet, offering essential vitamins, minerals, and antioxidants. They are naturally low in fat and calories but high in dietary fiber, promoting digestion and satiety. Opt for a variety of colors to maximize nutrient intake, such as leafy greens, citrus fruits, and cruciferous vegetables. Fresh, frozen, or canned options are all excellent choices, but be mindful of added sugars or salts in processed varieties. Incorporating these into meals and snacks supports overall health, boosts energy levels, and aids in maintaining a balanced low-fat dietary regimen.
2.4 Whole Grains
Whole grains are a cornerstone of a low-fat diet, providing sustained energy and essential nutrients. They include options like brown rice, quinoa, oats, and whole-wheat bread, which are rich in fiber, vitamins, and minerals. Unlike refined grains, they retain their bran, germ, and endosperm, offering more nutritional value. Incorporating whole grains helps maintain healthy cholesterol levels and supports digestion. When selecting, choose unprocessed or minimally processed varieties to avoid added fats, sugars, and preservatives. Pairing whole grains with lean proteins and vegetables creates balanced, satisfying meals that align with low-fat dietary goals and promote long-term health benefits.
2.5 Healthy Fats
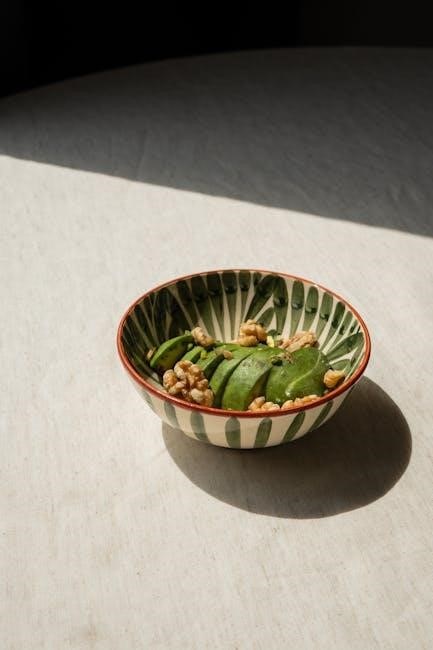
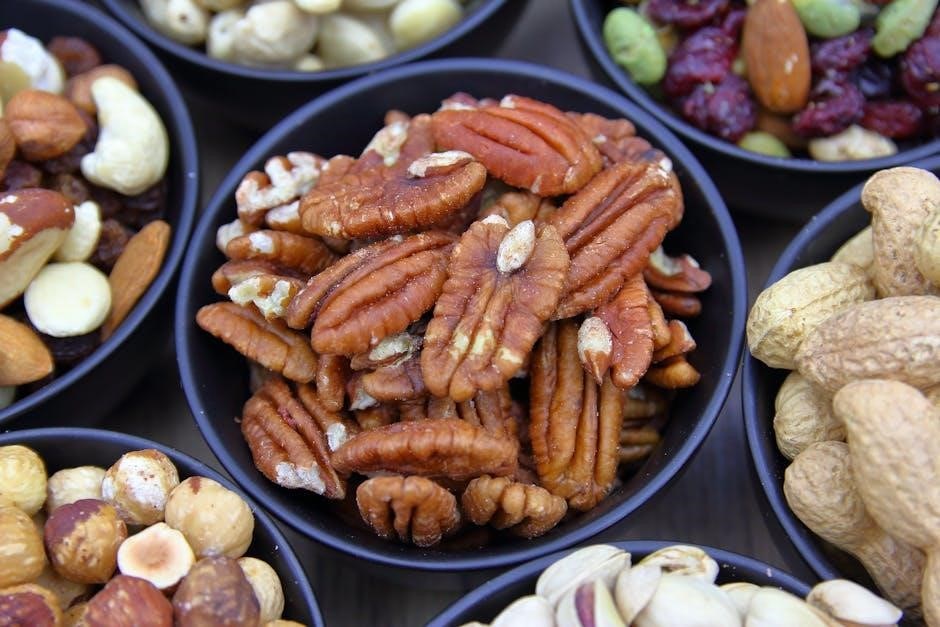
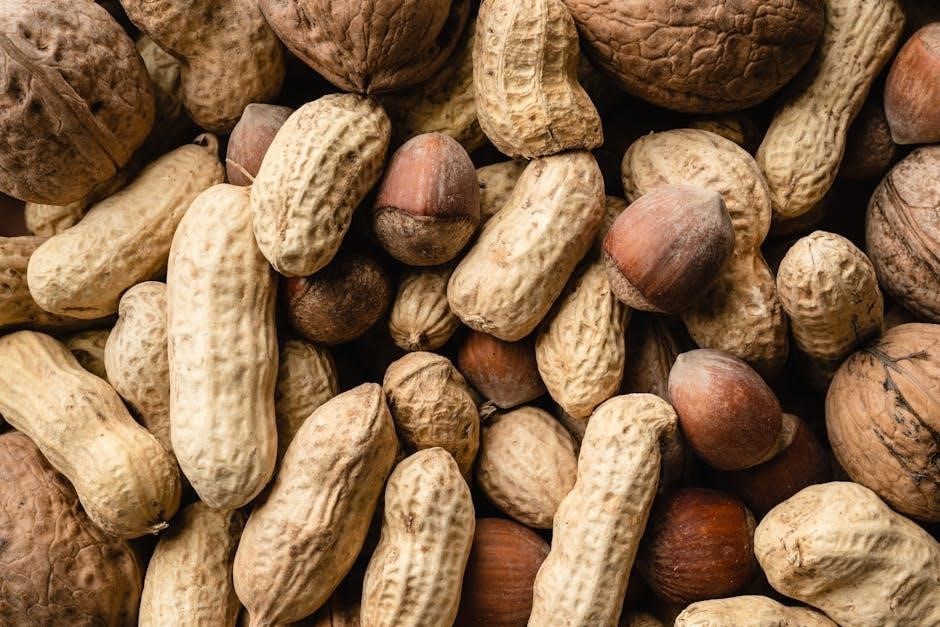
Healthy fats are essential in a low-fat diet, providing crucial nutrients without excessive calories. Avocados, nuts, seeds, and olive oil are rich in monounsaturated and polyunsaturated fats, which support heart health. Fatty fish like salmon offer omega-3 fatty acids, benefiting brain and heart function. These fats should be consumed in moderation to avoid calorie overload. Incorporate them by drizzling olive oil on vegetables or adding nuts to meals for flavor and nutrition. Avoid processed foods with unhealthy fats, ensuring your intake aligns with dietary goals for a balanced and nutritious low-fat diet.
Foods to Avoid on a Low-Fat Diet
Eliminate processed, fried, and high-fat foods to maintain a healthy low-fat diet. Avoid fatty meats, full-fat dairy, and sugary snacks to reduce calorie and fat intake effectively.
3.1 Processed and Fried Foods
Processed and fried foods are high in unhealthy fats, calories, and sodium, making them detrimental to a low-fat diet. These foods, such as fries, chips, and baked goods, are typically cooked in oil, increasing their fat content. Processed snacks often contain hidden saturated fats and artificial additives, contributing to weight gain and heart disease. Fried meats and fast food items are also high in trans fats, which are harmful to cardiovascular health. Limiting these foods helps maintain a balanced diet and supports overall well-being. Opting for baked or grilled alternatives is a healthier choice for those following a low-fat lifestyle.

3.2 High-Fat Dairy Products
High-fat dairy products, such as whole milk, cheese, and cream, are rich in saturated fats, which can increase cholesterol levels and contribute to heart disease. These products are often high in calories, making them less ideal for weight management. On a low-fat diet, it’s recommended to choose low-fat or fat-free alternatives, such as skimmed milk or reduced-fat cheeses. These options provide essential nutrients like calcium and protein without the excessive fat content. Limiting high-fat dairy helps maintain a healthier fat intake and supports overall dietary goals.
3.3 Red and Processed Meats
Red and processed meats are high in saturated fats, sodium, and preservatives, making them unsuitable for a low-fat diet. Foods like sausages, bacon, and deli meats contribute to increased fat and calorie intake, potentially leading to weight gain and health issues. The high fat content in these meats can also raise cholesterol levels, increasing the risk of heart disease. It’s advisable to limit or avoid these products and opt for leaner protein sources instead. Reducing consumption of red and processed meats supports a healthier dietary pattern and aligns with the goals of a low-fat diet.
3.4 Sugary and High-Calorie Snacks
Sugary and high-calorie snacks are detrimental to a low-fat diet as they contribute excess calories and added sugars without nutritional value. These snacks, such as candy, pastries, and sweetened beverages, can lead to weight gain and energy imbalances. Additionally, many processed snacks are high in unhealthy fats, which can negatively impact cholesterol levels and heart health. Reducing intake of these snacks helps maintain a balanced diet and supports long-term weight management. Opting for natural, low-sugar alternatives like fruits or nuts is a healthier choice that aligns with the principles of a low-fat dietary plan.

Meal Planning and Preparation Tips
Effective meal planning ensures balanced nutrition and portion control, while healthy cooking methods like grilling or steaming enhance flavors without adding unnecessary fats. Plan wisely and cook smart!
4.1 Portion Control and Balanced Meals
Portion control is crucial for maintaining a low-fat diet, ensuring meals are balanced without excess calories. Use smaller plates and measure servings to avoid overeating. Balanced meals should include lean proteins, whole grains, and a variety of colorful vegetables. Pairing these elements ensures nutritional adequacy and keeps meals satisfying. Avoid large portions of high-calorie or fatty foods, even if they are otherwise healthy. By controlling portions, you can enjoy your favorite foods while staying within dietary goals. This approach helps maintain energy levels and supports overall health without feeling deprived.
4.2 Healthy Cooking Methods
Healthy cooking methods are essential for preparing low-fat meals without compromising flavor. Grilling, baking, and steaming are excellent choices as they require minimal oil. Stir-frying with small amounts of heart-healthy oils, like olive or avocado oil, can also be beneficial. Roasting vegetables without added fats enhances their natural flavors. Using non-stick cookware reduces the need for butter or oils. Additionally, marinating foods with herbs and spices adds taste without extra fat. Opting for broths or citrus juices as cooking liquids further reduces fat content. These methods ensure meals are nutritious, flavorful, and aligned with a low-fat dietary plan.
Low-Fat Diet Food List PDF Resources
Discover reliable low-fat diet food lists in PDF format from trusted sources like health.gov.au, American Heart Association, and certified dietitian websites for accurate guidance.
5.1 Where to Find Reliable PDF Guides
Reliable low-fat diet food list PDFs can be found on official health websites like the Australian Dietary Guidelines (health.gov.au) and the American Heart Association. These sources provide evidence-based, comprehensive guides tailored for various dietary needs. Additionally, institutions like the National Cancer Institute (NCI) and the National Institute for Health Research (NIHR) offer downloadable resources. Always ensure the PDFs are from credible organizations to guarantee accurate and safe dietary advice. These guides often include detailed food lists, portion sizes, and nutritional tips, making them invaluable for planning a balanced low-fat diet.
5.2 Key Features of a Good Low-Fat Food List
A good low-fat food list should be comprehensive, categorizing foods into groups like lean proteins, low-fat dairy, fruits, vegetables, and whole grains. It should clearly indicate portion sizes and fat content per serving. The list should also differentiate between unhealthy fats (saturated and trans fats) and healthier options like omega-3 fatty acids. Additionally, it should include practical tips for meal planning and cooking methods to minimize fat intake. A reliable list should be evidence-based, citing credible sources like health organizations. Finally, it should be easy to read, with clear tables or charts, and updated regularly to reflect the latest nutritional research.
Sustainability and Long-Term Benefits
A low-fat diet supports long-term health by reducing chronic disease risks and promoting sustainable weight management. It encourages balanced nutrition and lasting lifestyle changes for overall well-being.
6.1 Maintaining a Low-Fat Diet Long-term
Maintaining a low-fat diet long-term requires gradual, sustainable changes rather than quick fixes. Focus on balanced nutrition, incorporating lean proteins, low-fat dairy, fruits, vegetables, and whole grains. Avoid extreme restrictions, as they can lead to frustration and relapse. Instead, adopt mindful eating habits and portion control to ensure consistency. Regular physical activity complements dietary efforts, enhancing overall health. Staying hydrated and limiting processed foods further supports long-term adherence. By prioritizing variety and flavor, a low-fat diet can become a enjoyable, lasting lifestyle choice that promotes energy, well-being, and chronic disease prevention. Consult a dietitian for personalized, sustainable strategies.
6.2 Avoiding Nutritional Deficiencies
A low-fat diet must be carefully planned to avoid deficiencies in essential nutrients like omega-3 fatty acids, vitamins A and D, and fiber. Include sources of healthy fats, such as fatty fish, nuts, and seeds, to ensure adequate intake of vital nutrients. Fortified dairy products and plant-based alternatives can provide necessary vitamins. Incorporate a variety of colorful fruits and vegetables to maintain fiber and micronutrient levels. Regularly consuming whole grains and legumes also supports overall nutritional balance. Consulting a dietitian can help tailor the diet to individual needs, ensuring no critical nutrients are lacking while maintaining a low-fat regimen.